Guide to Designing Portfolio Websites for Photographers
Creating a portfolio website is essential for photographers who want to showcase their work and attract new clients. When I first started building my own photography website, I realized how much of a difference it made in presenting my style professionally and gaining trust from clients.
At first, I struggled with organizing my photos and choosing the right platform, but after testing a few options, I found what really works. In this guide, I’ll walk you through the exact steps I used to build a stunning photography website that not only highlights your unique style but also helps you book more gigs.
We’ll cover how to define your photography brand, organize your portfolio effectively, and choose the right platform based on real experience.
Understanding Your Photography Brand

Identifying Your Unique Style
Your photography style is your visual fingerprint. It’s what makes your work distinctly you.
Think about the images that get you excited. Are you drawn to moody black and white portraits? Vibrant, colorful landscapes? Minimalist product shots?
Look at your best work and ask:
- What lighting do you naturally gravitate toward?
- Do you prefer clean, sharp images or dreamier, soft-focus shots?
- What subjects keep pulling you back?
- How do you typically frame your compositions?
Most photographers don’t start with a clear style. It emerges over time. But once you identify those patterns, you can intentionally emphasize them on your portfolio site.
Determining Target Audience
Who are you trying to attract with your website? Wedding clients want different things than commercial brands.
A corporate client might value technical precision and reliability, while an artistic magazine might prioritize your unique vision and creative risk-taking.
Your audience shapes everything:
- Image selection (show what they want to buy)
- Site organization (make it easy for them to find what they need)
- Design choices (match their aesthetic expectations)
Talk to your ideal clients. Find out where they hang out online, what sites they visit, and what visual styles resonate with them.
Setting Portfolio Goals
What exactly do you want your portfolio to accomplish?
Clear goals guide every design decision. Maybe you need:
- More wedding bookings in your local area
- Commercial clients with bigger budgets
- Editorial opportunities with specific magazines
- Gallery representation for fine art work
Your goals determine which projects to showcase, how to organize them, and what calls-to-action to include.
And be specific about success metrics. “Book 3 new corporate clients this quarter” is more actionable than “get more work.”
Essential Elements of Photographer Websites
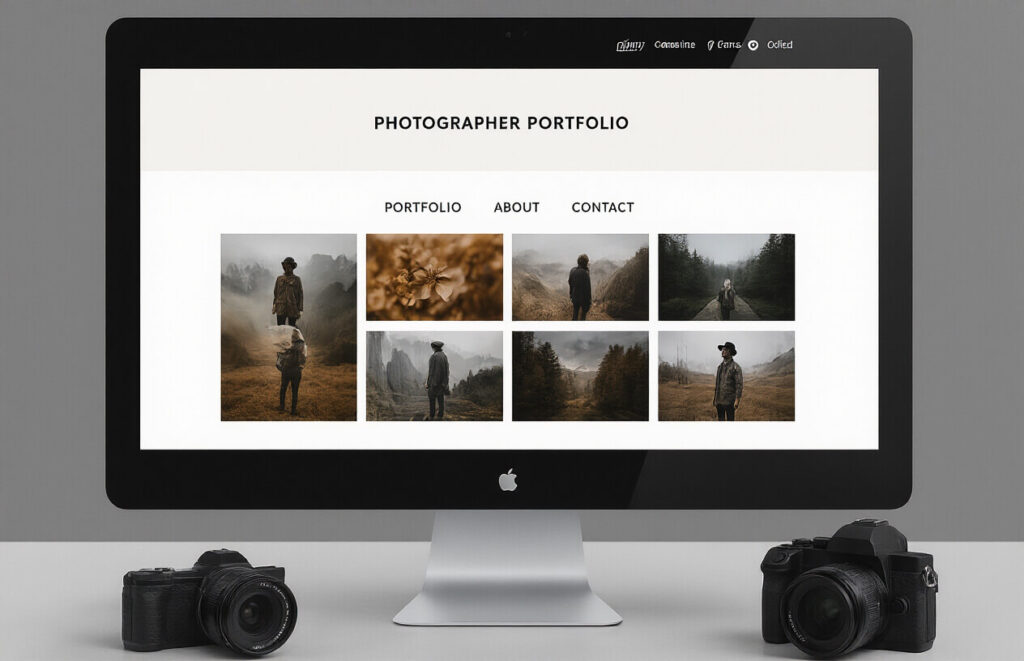
Clean Navigation Structure
Look, photographers – your visitors aren’t puzzle solvers. They want to see your gorgeous work without hunting for it. Your navigation should be stupid simple.
The best photographer websites have no more than 5-7 main menu items. That’s it. And they’re labeled clearly: Portfolio, About, Contact, Pricing.
Want to know what kills a great portfolio? Cute but confusing menu labels. “Captured Moments” might sound poetic, but “Wedding Gallery” tells people exactly what they’ll find.
Three quick navigation tips:
- Put your best galleries front and center
- Keep dropdown menus minimal (or ditch them entirely)
- Make your contact info absurdly easy to find
Mobile Responsiveness
Nobody’s browsing your site exclusively on a 27-inch monitor anymore. They’re on phones, tablets, laptops – sometimes all in the same day.
Your gorgeous grid layout means nothing if it turns into a jumbled mess on mobile. And guess what? Over 60% of your potential clients will judge your professionalism based on how your site performs on their phone.
Mobile responsive design isn’t optional – it’s survival. Your images need to:
- Resize properly without pixelation
- Load quickly on cellular connections
- Be tap-friendly (no tiny buttons!)
Fast Loading Galleries
Slow galleries are portfolio killers. When someone clicks on “Weddings” and waits 8 seconds for images to appear, they’re already clicking away.
Your high-res masterpieces need optimization. Compress them properly. Use image formats like WebP. Implement lazy loading so visitors see something immediately while the rest loads in the background.
Test your gallery load times from different devices and connections. If it takes more than 2-3 seconds, you’re losing business.
SEO Optimization for Visual Content
Photography websites face a unique SEO challenge – how do you rank when your best content is visual?
Start by giving every image proper alt text. Not just “wedding_photo1.jpg” but “Sunset beach wedding ceremony in Maui, Hawaii.” Describe what you see – that’s what search engines need.
Your image filenames matter too. Rename “IMG_9876.jpg” to “chicago-engagement-photography-millennium-park.jpg” before uploading.
Create content clusters around your photography niches. If you shoot food photography, build related pages about restaurant photography, cookbook images, and food styling tips that all link together.
Selecting the Right Platform

WordPress vs. Dedicated Portfolio Sites
Choosing between WordPress and dedicated portfolio sites like Squarespace or Format? This isn’t just a tiny decision – it’s the foundation of your entire photography business online.
WordPress gives you crazy flexibility. You can customize literally everything. Got a wild idea for your portfolio layout? WordPress can handle it. But that freedom comes with a learning curve that might make you want to throw your camera across the room.
Dedicated portfolio sites are like the point-and-shoot cameras of the web world. They’re designed specifically for visual artists. You’ll get beautiful templates made for showcasing images, and you won’t need to mess with code or plugins.
Here’s the breakdown:
| Platform Type | Pros | Cons |
|---|---|---|
| WordPress | Ultimate customization, thousands of plugins, complete control | Steeper learning curve, requires more maintenance |
| Dedicated Sites | Photography-specific features, easier setup, professional templates | Less flexibility, potential limitations as you grow |
Self-Hosted vs. Platform Solutions
Think of this as the difference between owning and renting your online home.
Self-hosted means you’re buying the digital land and building your house. You’ll need to purchase hosting, set up your CMS, and handle all the technical bits. But you own everything and nobody can kick you out.
Platform solutions (like Wix, Squarespace) are more like renting a fully-furnished apartment. Everything’s set up, maintained, and pretty. Just move your photos in and you’re done.
Cost Comparison and Value Analysis
Photography portfolios aren’t cheap dates. Here’s what you’re actually paying for:
| Solution | Typical Costs | Hidden Costs | Best For |
|---|---|---|---|
| WordPress | $3-15/month hosting + $0-100/year theme | Time investment, potential developer costs | Photographers who need unique features or have specific branding requirements |
| Squarespace | $16-49/month | Limited customization, potential add-ons | Photographers who want simplicity and don’t mind trading some control for convenience |
| Format | $7-25/month | Limited template options | Photographers looking for portfolio-specific features without the WordPress learning curve |
The cheapest option isn’t always the best value. Ask yourself: what’s your time worth? A platform that saves you 20 hours of setup but costs $10 more monthly might actually be cheaper in the end.
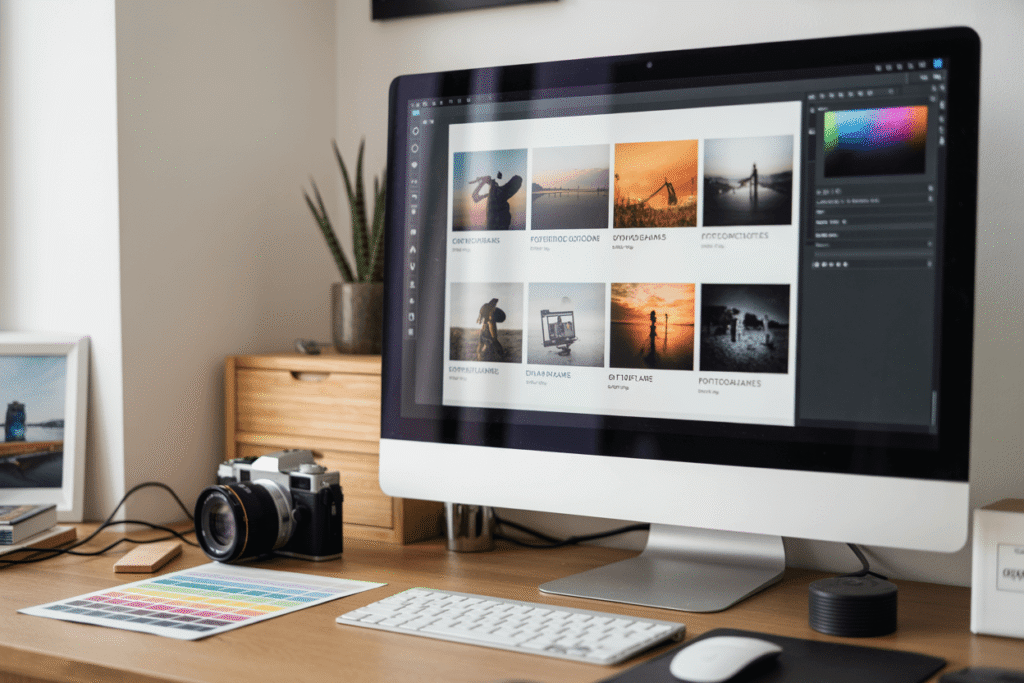
Organizing Your Photography Portfolio

A. Creating Logical Gallery Categories
Ever stared at hundreds of photos wondering how to organize them? Yeah, me too.
The key is simple: logical categories that make sense to visitors, not just you. Think about how your potential clients search for photography. Wedding clients want wedding photos. Commercial brands want product shots.
Start with these basic categories:
- By subject (portraits, landscapes, wildlife)
- By client type (corporate, weddings, families)
- By technique (black and white, long exposure, aerial)
Don’t overthink it. The goal isn’t perfect organization—it’s helping visitors find what they’re looking for in seconds. If they can’t, they’ll bounce.
B. Balancing Quantity vs. Quality
Here’s the brutal truth: nobody’s going to look through 50 near-identical shots.
Quality trumps quantity every time. I’ve seen photographers tank their chances by overwhelming potential clients with too many options.
Your rule of thumb? If you’re debating whether to include a photo, drop it. Your portfolio should only feature your absolute knockout work—the images that make you proud even years later.
Keep it tight:
- 15-20 images per category is plenty
- Each image should serve a purpose
- No similar shots (pick the best one)
Remember: Your portfolio is only as strong as your weakest image.
C. Telling Visual Stories Through Sequencing
The order of your photos matters more than you think.
Smart photographers don’t just throw images together randomly—they create narrative flow. When a visitor clicks through your gallery, they should feel like they’re experiencing a complete story.
Try these sequencing approaches:
- Chronological (perfect for events/weddings)
- Thematic (grouped by mood or color palette)
- Contrast and complement (juxtapose different images that strengthen each other)
For wedding photographers, show the full journey—from getting ready to the send-off. For travel photographers, sequence images to take viewers on a visual journey through the location.
D. Maintaining Consistent Visual Style
Nothing screams “amateur” like a portfolio with wildly different editing styles on every image.
Your editing style is your signature. It’s how clients recognize your work and what they’ll expect when hiring you.
This doesn’t mean every photo needs identical processing, but there should be a cohesive feel:
- Consistent color grading
- Similar contrast levels
- Recognizable composition approach
If you’re still finding your style, pick your favorite images and analyze what they have in common. That’s your starting point.
E. Updating Content Strategy
A stale portfolio is a dead portfolio.
The photographers who book consistently are always refreshing their work. Not just when they remember, but as part of a deliberate strategy.
Create an updating schedule:
- Quarterly review of all galleries
- Remove anything that no longer represents your best work
- Add fresh projects that showcase new skills
Each update is a new opportunity to share on social media and email past clients. “Just updated my portfolio with new work from X project—check it out!”
And always date your most recent shoots. Nothing says “busy and in-demand” like recent work.
Design Principles for Photography Websites

A. Choosing Complementary Color Schemes
Your photos already have their own color stories. The last thing you want is a website that fights with them. Smart photographers pick color schemes that enhance, not compete with, their images.
Start with neutrals—blacks, whites, and grays provide clean backdrops that let your work shine. Want something with more personality? Pull accent colors directly from your portfolio. That sunset orange or deep teal from your favorite shots can become part of your brand identity.
Some foolproof approaches:
- Monochromatic schemes: Different shades of one color create cohesion
- Complementary colors: Opposite on the color wheel, like blue/orange for high contrast
- Analogous colors: Next to each other on the wheel for harmony
Remember your audience, too. Wedding photographers might lean into soft pastels, while wildlife photographers could use earthy tones. Whatever you choose, keep it consistent across your site.
B. Typography That Enhances Your Images
Typography isn’t just about reading—it’s another visual element that needs to play nice with your photos.
Here’s what works:
- Sans-serif fonts (like Helvetica or Montserrat) for clean, modern feels
- Serif fonts (like Georgia) when you want a touch of elegance
- No more than 2-3 font families across your entire site
Size matters too. Big, bold headlines can create dramatic tension with your images, while smaller text knows its place. The spacing between letters and lines? That’s not designer fussiness—it’s about creating breathing room so your words don’t crowd your pictures.
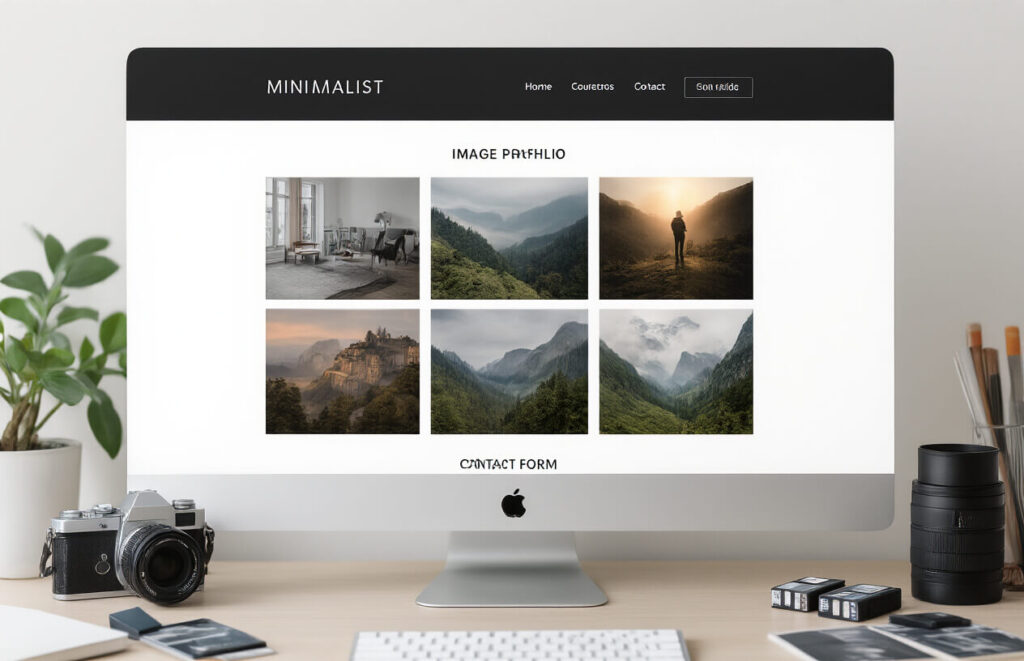
C. White Space and Image Framing
White space isn’t empty space—it’s intentional breathing room that makes your photos pop.
Think of white space as the frame within your digital frame. Too many photographers cram their sites with images, creating visual overload. Instead, give each photo room to breathe. When a stunning landscape has proper margins around it, visitors actually see it better.
The trick is balance. Too much white space feels disconnected, too little feels cluttered. Aim for that sweet spot where your images feel purposefully placed, not randomly scattered.
For framing, consider:
- Consistent borders (or lack thereof)
- How images align with text blocks
- Whether thumbnails crop to the same dimensions or retain original proportions
D. Grid Layouts vs. Creative Arrangements
The age-old photographer’s dilemma: stick with clean grids or get creative with layouts?
Grid layouts offer predictability. Visitors know exactly how to navigate your work, and you can showcase images of different orientations without creating chaos. Perfect for documentary, commercial, or any work where the content matters more than presentation flair.
Creative arrangements make statements. Overlapping images, asymmetrical layouts, and dynamic scrolling can mirror your artistic vision. This approach works brilliantly for fashion, art, and conceptual photographers who want their website to feel like an extension of their creative vision.
Neither is inherently better. The real question is: which serves your work? A photojournalist might need the no-nonsense organization of a grid, while an experimental photographer might benefit from layouts that challenge conventional viewing.
Technical Specifications for Image Display
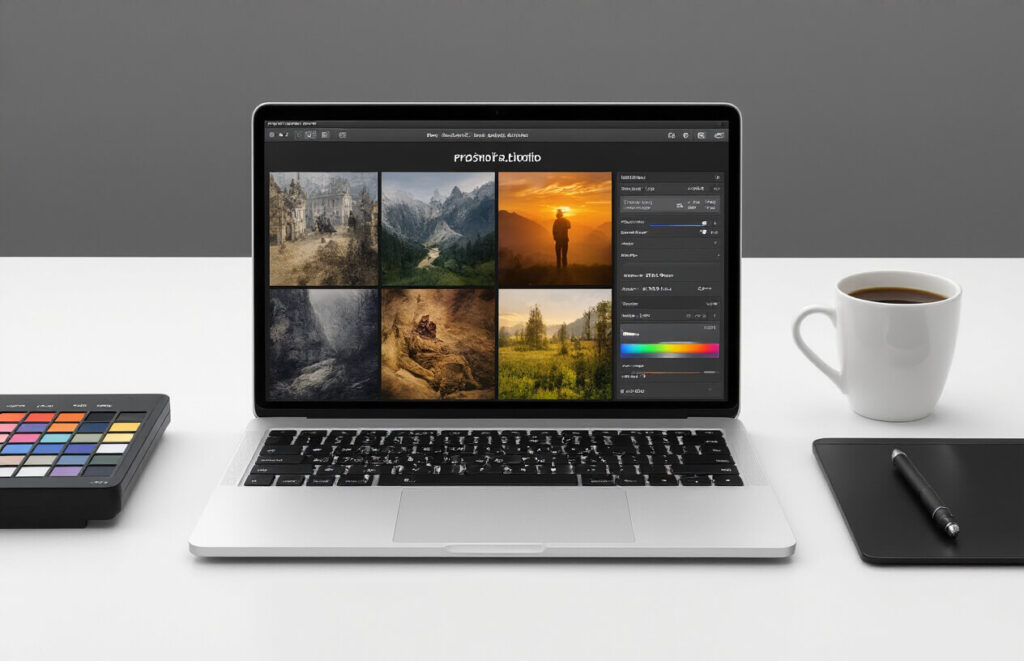
A. Image Resolution and Compression Balance
The make-or-break factor for photographer websites? Image quality. But here’s the thing – you can’t just upload your RAW files and call it a day.
High-resolution photos look stunning but can slow your site to a crawl. Nobody’s sticking around for a gallery that loads at snail’s pace. On the flip side, over-compress your images and you might as well be showing thumbnails from 2005.
Aim for this sweet spot:
- Web-optimized resolution: 2000px on the longest side for full-screen viewing
- File size: Keep each image under 500KB
- Format: JPEG for photographs, PNG for graphics with transparency
- Quality setting: 80-85% compression (barely noticeable quality loss with significant size reduction)
Tools like Adobe Lightroom’s export presets or web-specific tools like ShortPixel can automate this balancing act for your entire portfolio.
B. Color Profile Management
You spent hours perfecting those colors – don’t let the web ruin them.
Your monitor might display colors beautifully, but without proper color profiles, visitors might see something totally different. The web standard is sRGB – not Adobe RGB or ProPhoto RGB.
When exporting for your portfolio:
- Convert all images to sRGB color space
- Embed the color profile
- Use soft-proofing in your editing software to preview how colors will appear online
C. Watermarking Considerations
Watermarks are tricky. Too big and they ruin your beautiful work. Too small and they’re pointless.
If you decide to watermark:
- Keep it subtle (semi-transparent, corner placement)
- Consider using it only on free/downloadable images
- Try metadata watermarking instead of visual ones
- Ask yourself: would you hang this on your wall with that mark?
Many top photographers skip visible watermarks entirely, focusing on building relationships rather than defending against theft.
D. Protection Against Unauthorized Downloads
The hard truth? If it’s viewable online, it can be taken. But you can make it harder:
- Disable right-click functionality
- Implement image slicing (breaking images into multiple tiles)
- Use JavaScript-based protection like image floaters
- Consider invisible watermarking technology
- Add EXIF copyright information
Remember that medium-resolution images are usually sufficient for portfolio display while being less valuable for theft. The most effective protection? Regular content updates and watermarking high-value images with client proofs.
Adding Functional Elements
A. Contact Forms That Convert
Your contact form isn’t just a formality—it’s where the magic happens. The difference between a boring form and one that converts? About $10,000 in potential client revenue.
Make it dead simple. Name, email, project details, done. Every field you add is another reason for photographers to bounce.
Place your form where it makes sense—not buried six feet under your site map. Put it on your homepage, at the end of your portfolio, or give it its own dedicated page with a big, fat, unmissable button in your navigation.
Pro tip: Add a dropdown asking “How did you hear about me?” This tiny question delivers marketing gold about which channels are actually working.
B. Client Galleries and Password Protection
Nothing says “professional photographer” like private client galleries. They’re not just fancy—they’re functional.
Set up password-protected areas where clients can:
- View their images without the whole internet seeing them
- Download high-res files (if that’s your thing)
- Share selects with friends and family
- Order prints directly (hello, passive income!)
Most photographers overlook the opportunity to brand these galleries. Big mistake. Your client will spend more time in their gallery than anywhere else on your site. Make it look like you, not some generic white-label solution.
C. Booking Systems Integration
The days of email ping-pong to schedule a shoot are over. Your time is worth more than that.
Integrate a booking system that:
- Shows your real-time availability
- Lets clients pick their slot
- Automatically sends confirmation emails
- Collects deposits upfront
- Sends reminder notifications
Calendly works fine for basic needs, but specialized tools like Honeybook or Dubsado handle contracts and invoicing too. The best system? The one you’ll actually use.
D. Blog Component for SEO and Storytelling
A blog isn’t just a place to dump photos—it’s your SEO secret weapon and storytelling platform.
Structure each post around specific shoots or topics that potential clients search for. “Downtown Chicago Engagement Photos” will bring in more targeted traffic than “John and Sarah’s Session.”
Include:
- 300+ words of actual text (Google loves this)
- Alt tags on every image (name them what they actually are)
- Location details and vendor credits (hello, backlinks!)
- A call-to-action at the end of every post
The best photographer blogs don’t just showcase pretty pictures—they tell the story behind the images. Share your process, your challenges, your vision. People hire photographers they connect with, not just ones who take nice photos.
Testing and Launching Your Portfolio

A. Cross-Browser Compatibility Checks
Your photography portfolio might look stunning on Chrome, but what about Safari or Firefox? Yeah, browser compatibility is boring, but it’s crucial.
Run your site through these simple checks:
- Test on major browsers (Chrome, Firefox, Safari, Edge)
- Check mobile versions too (iOS Safari, Android Chrome)
- Look for layout breaks, image loading issues, or navigation problems
Tools like BrowserStack or CrossBrowserTesting let you check everything without owning 20 different devices. Seriously, don’t skip this step – nothing screams “amateur” like a portfolio that breaks on half your potential clients’ browsers.
B. Speed Optimization Techniques
Nobody waits for slow websites anymore. Period.
Your high-res photography will tank your load times if you’re not careful. Here’s how to keep things zippy:
- Compress images using tools like ShortPixel or Squoosh
- Enable browser caching
- Minimize HTTP requests
- Use a CDN for faster global loading
- Consider lazy loading for image galleries
Test your speed with Google PageSpeed Insights and aim for scores above 80. Remember, a 1-second delay can increase bounce rates by 20%. That’s potential clients walking away before seeing your work.
C. User Experience Testing
Your portfolio isn’t for you – it’s for your clients.
Grab 5-7 people who match your target audience. Watch them navigate your site without helping them. You’ll be shocked at what trips them up.
Common UX issues to watch for:
- Confusing navigation
- Unclear calls to action
- Overwhelming galleries
- Slow-loading elements
- Mobile usability problems
Don’t be precious about your design choices if users struggle with them. Real feedback beats your personal preferences every time.
D. Analytics Setup for Performance Tracking
Flying blind is for daredevils, not photographers building a business.
Set up Google Analytics (GA4) to track:
- Which portfolios get the most views
- How long visitors stay on each page
- Where your traffic comes from
- Which devices your visitors use
- Conversion events (contact form submissions, etc.)
Install heatmap tools like Hotjar to see exactly where visitors click and how far they scroll. This data is gold for improving your site over time.
Add UTM parameters to your social media links so you can track which platforms drive the most valuable traffic. The data might surprise you – and help you focus your marketing efforts where they actually work.

Creating an Impactful Photography Portfolio Website
Designing a portfolio website that showcases your photography work requires thoughtful planning and execution. From defining your brand identity to selecting the right platform, organizing your images effectively, and implementing design principles that complement your work, each step plays a crucial role in creating a compelling online presence. Remember that technical specifications for image display and functional elements like contact forms and social media integration are equally important to enhance user experience and drive engagement.
Your photography portfolio is your digital storefront – make it count. Take the time to test your website thoroughly across different devices before launching it to ensure optimal performance. As your photography style evolves, so should your portfolio website. Regularly update your content, refine your design, and stay current with web trends to maintain a portfolio that truly represents your artistic vision and attracts your ideal clients.